
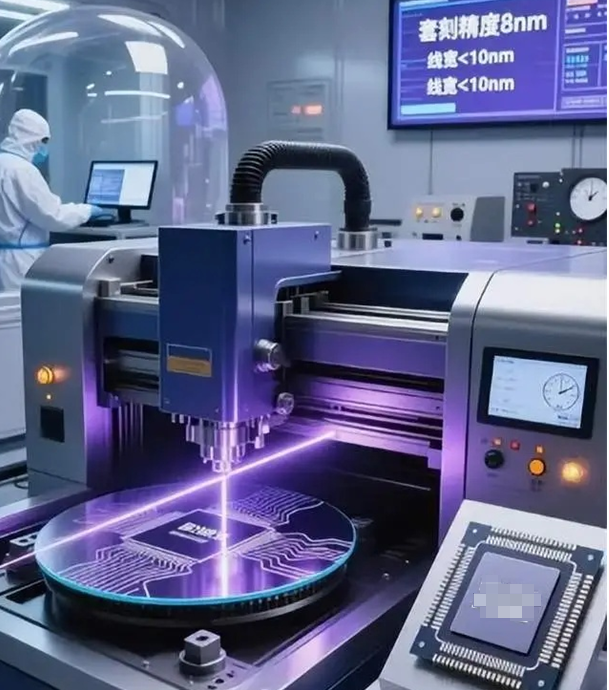
Watch a 300 mm wafer roll off the track and into the bake module. The photoresist has to hit the target temperature—clean, uniform, across every die. Give the hot zone a 1°C drift, or let a cold spot show up at the edge, and critical dimension control walks. The line stops.
What actually matters under the hood
We built the bake around zoned heating, with independent elements that respond fast and hold tight thermal uniformity across the wafer plane. During soft bake and hard bake, the system keeps setpoint stability within ±0.1°C, and the ramp profiles repeat—so you protect the resist profile and keep standing waves from showing up. Quartz and short-wave infrared sources deliver the heat quickly and cleanly, with low particulate. The controller watches each zone in real time, so it can compensate for edge effects and for the usual tool-to-tool variation.
Why this holds up in a real fab
In Class 1–100 cleanrooms, particle count isn’t something you negotiate. These zoned modules don’t throw particle events during thermal cycling, and that keeps yield where it needs to be. You end up with photoresist bake precision that shows up as tighter linewidth distribution, fewer rework lots, and a thermal budget you can plan around. Energy use drops because you only heat the zones that need it. The payoff is consistent critical dimension performance, less scrap, and uptime that can take 24/7 operation without drama.
The practical details you’ll want to get right
Integration comes down to matching the bake chamber footprint, gas flow patterns, and exhaust conductance. Existing quartzware and susceptors need a quick compatibility check against the new zone map and temperature profile. Run a short qualification to tune the zone offsets and ramp rates for your specific resist stack. Once that’s dialed in, the process stays put—across shifts, across wafer starts, even when the ambient changes with the season.